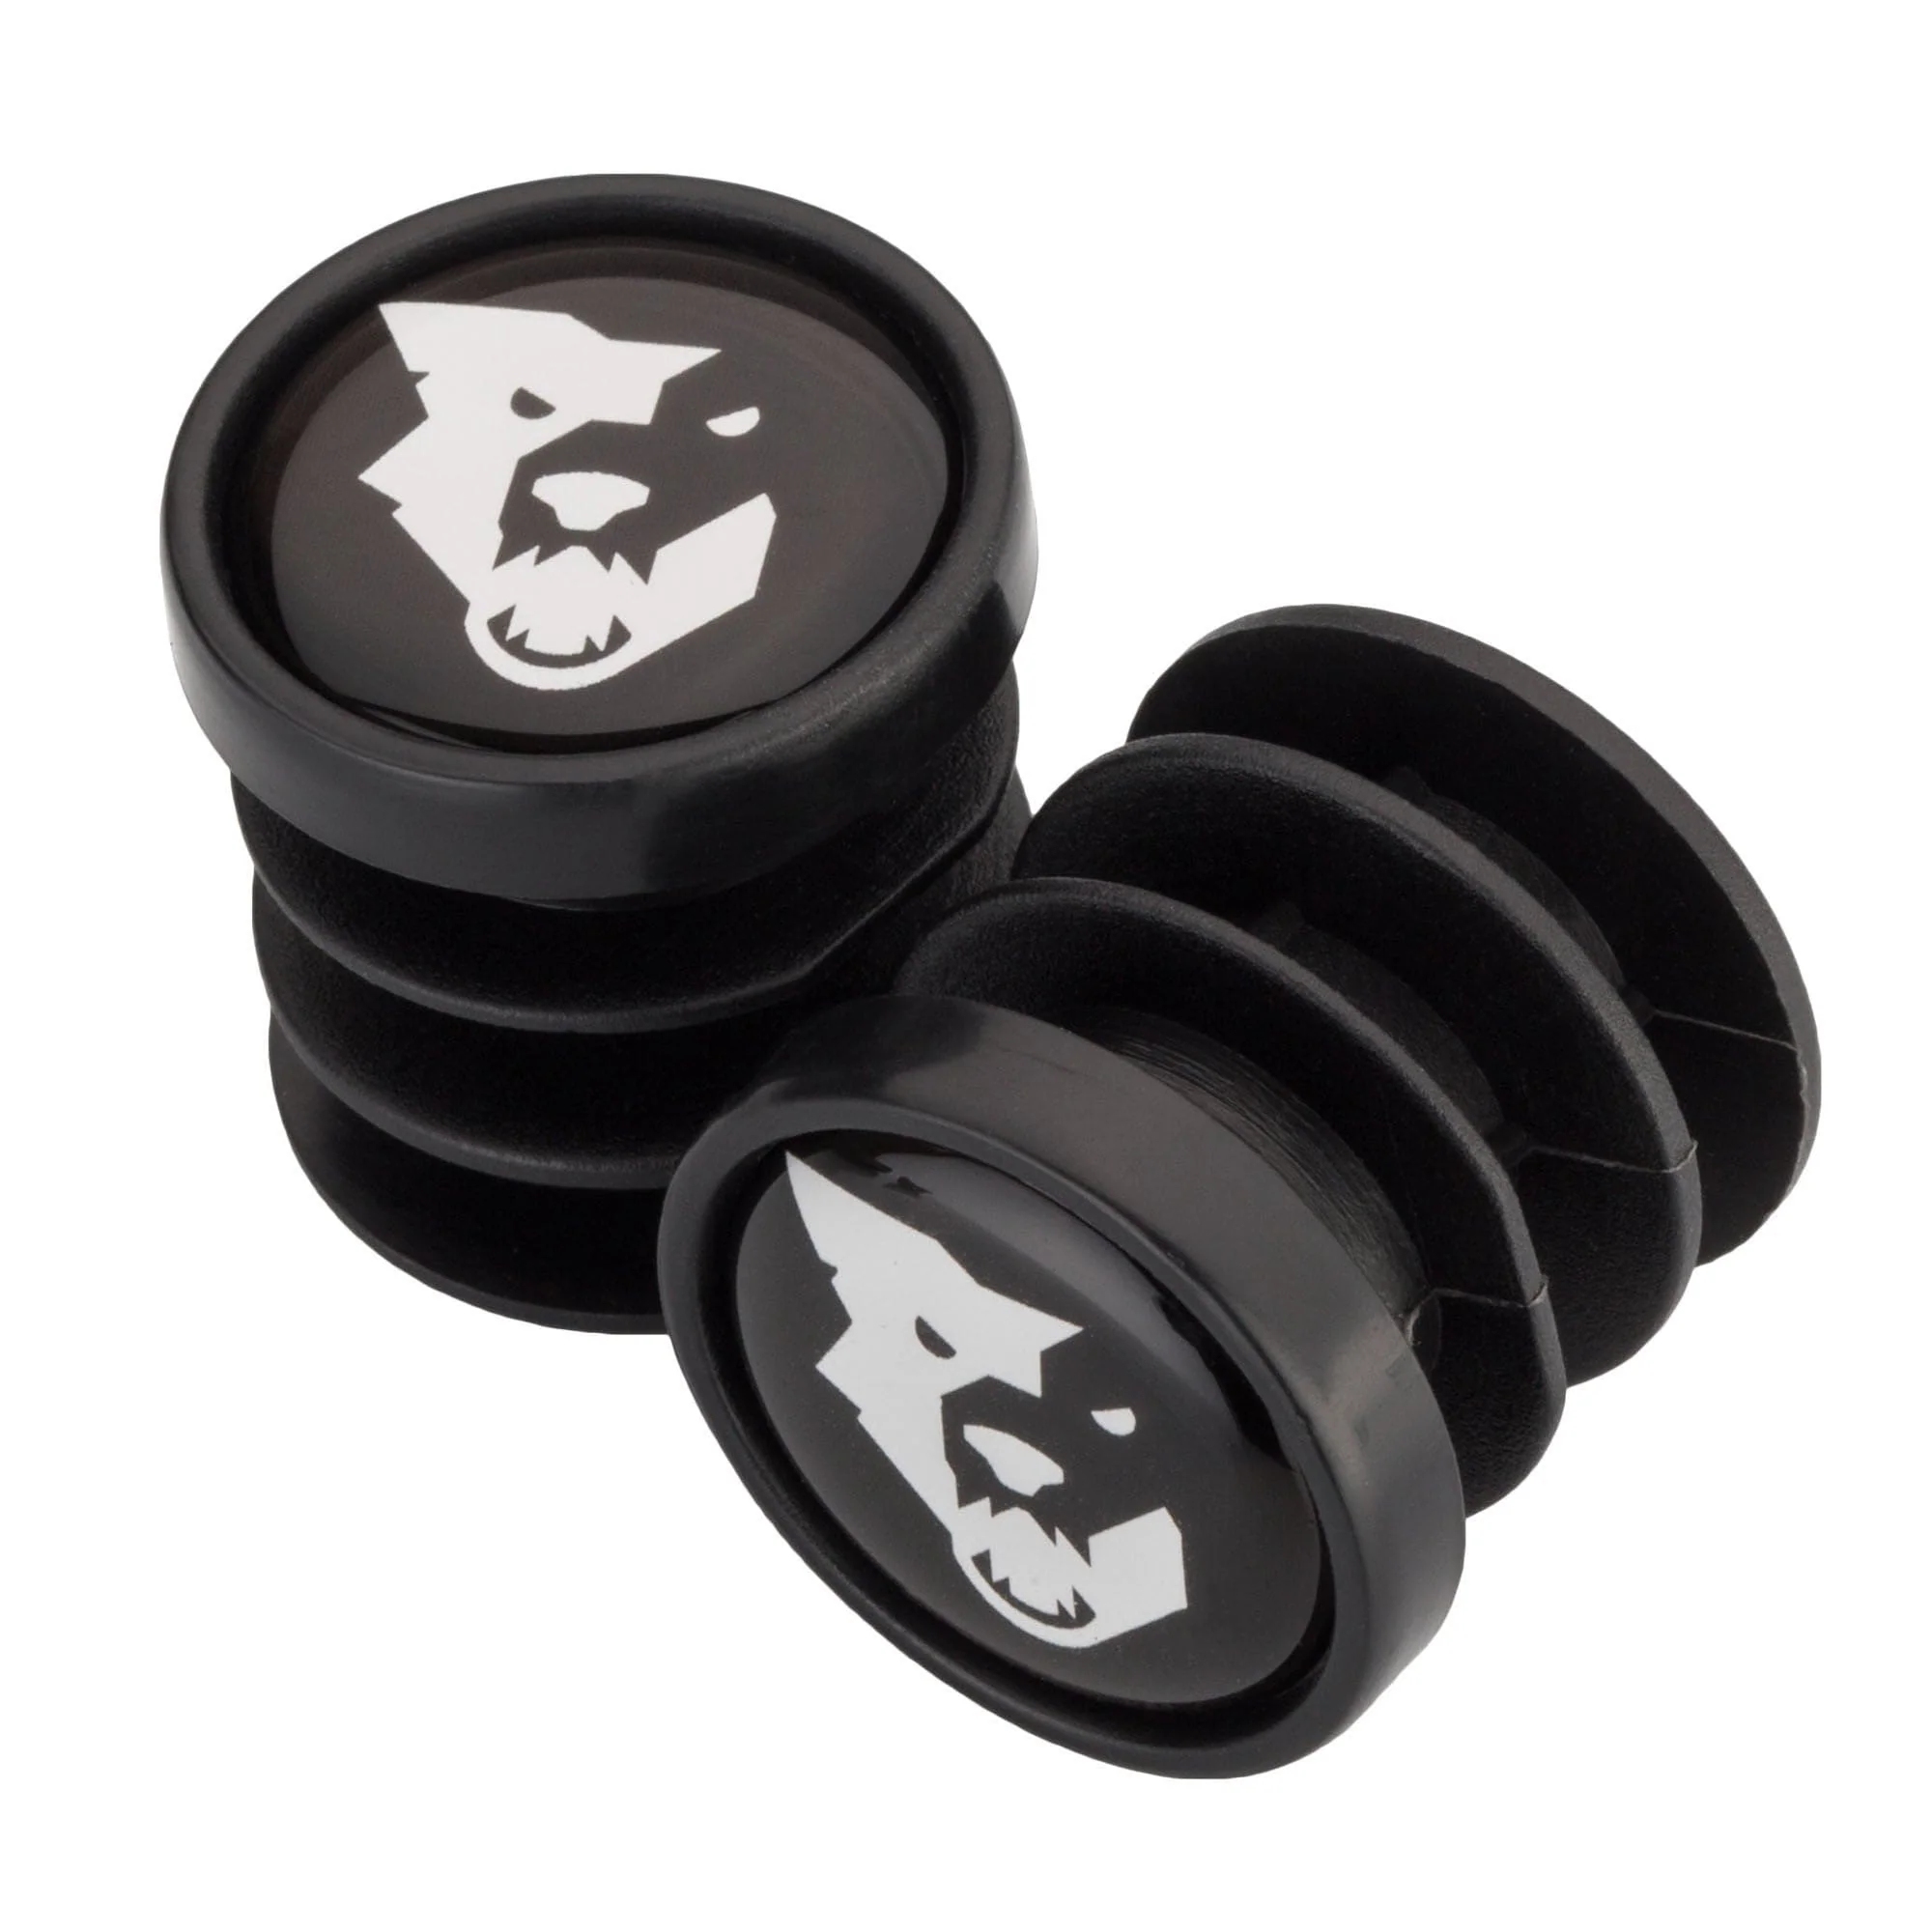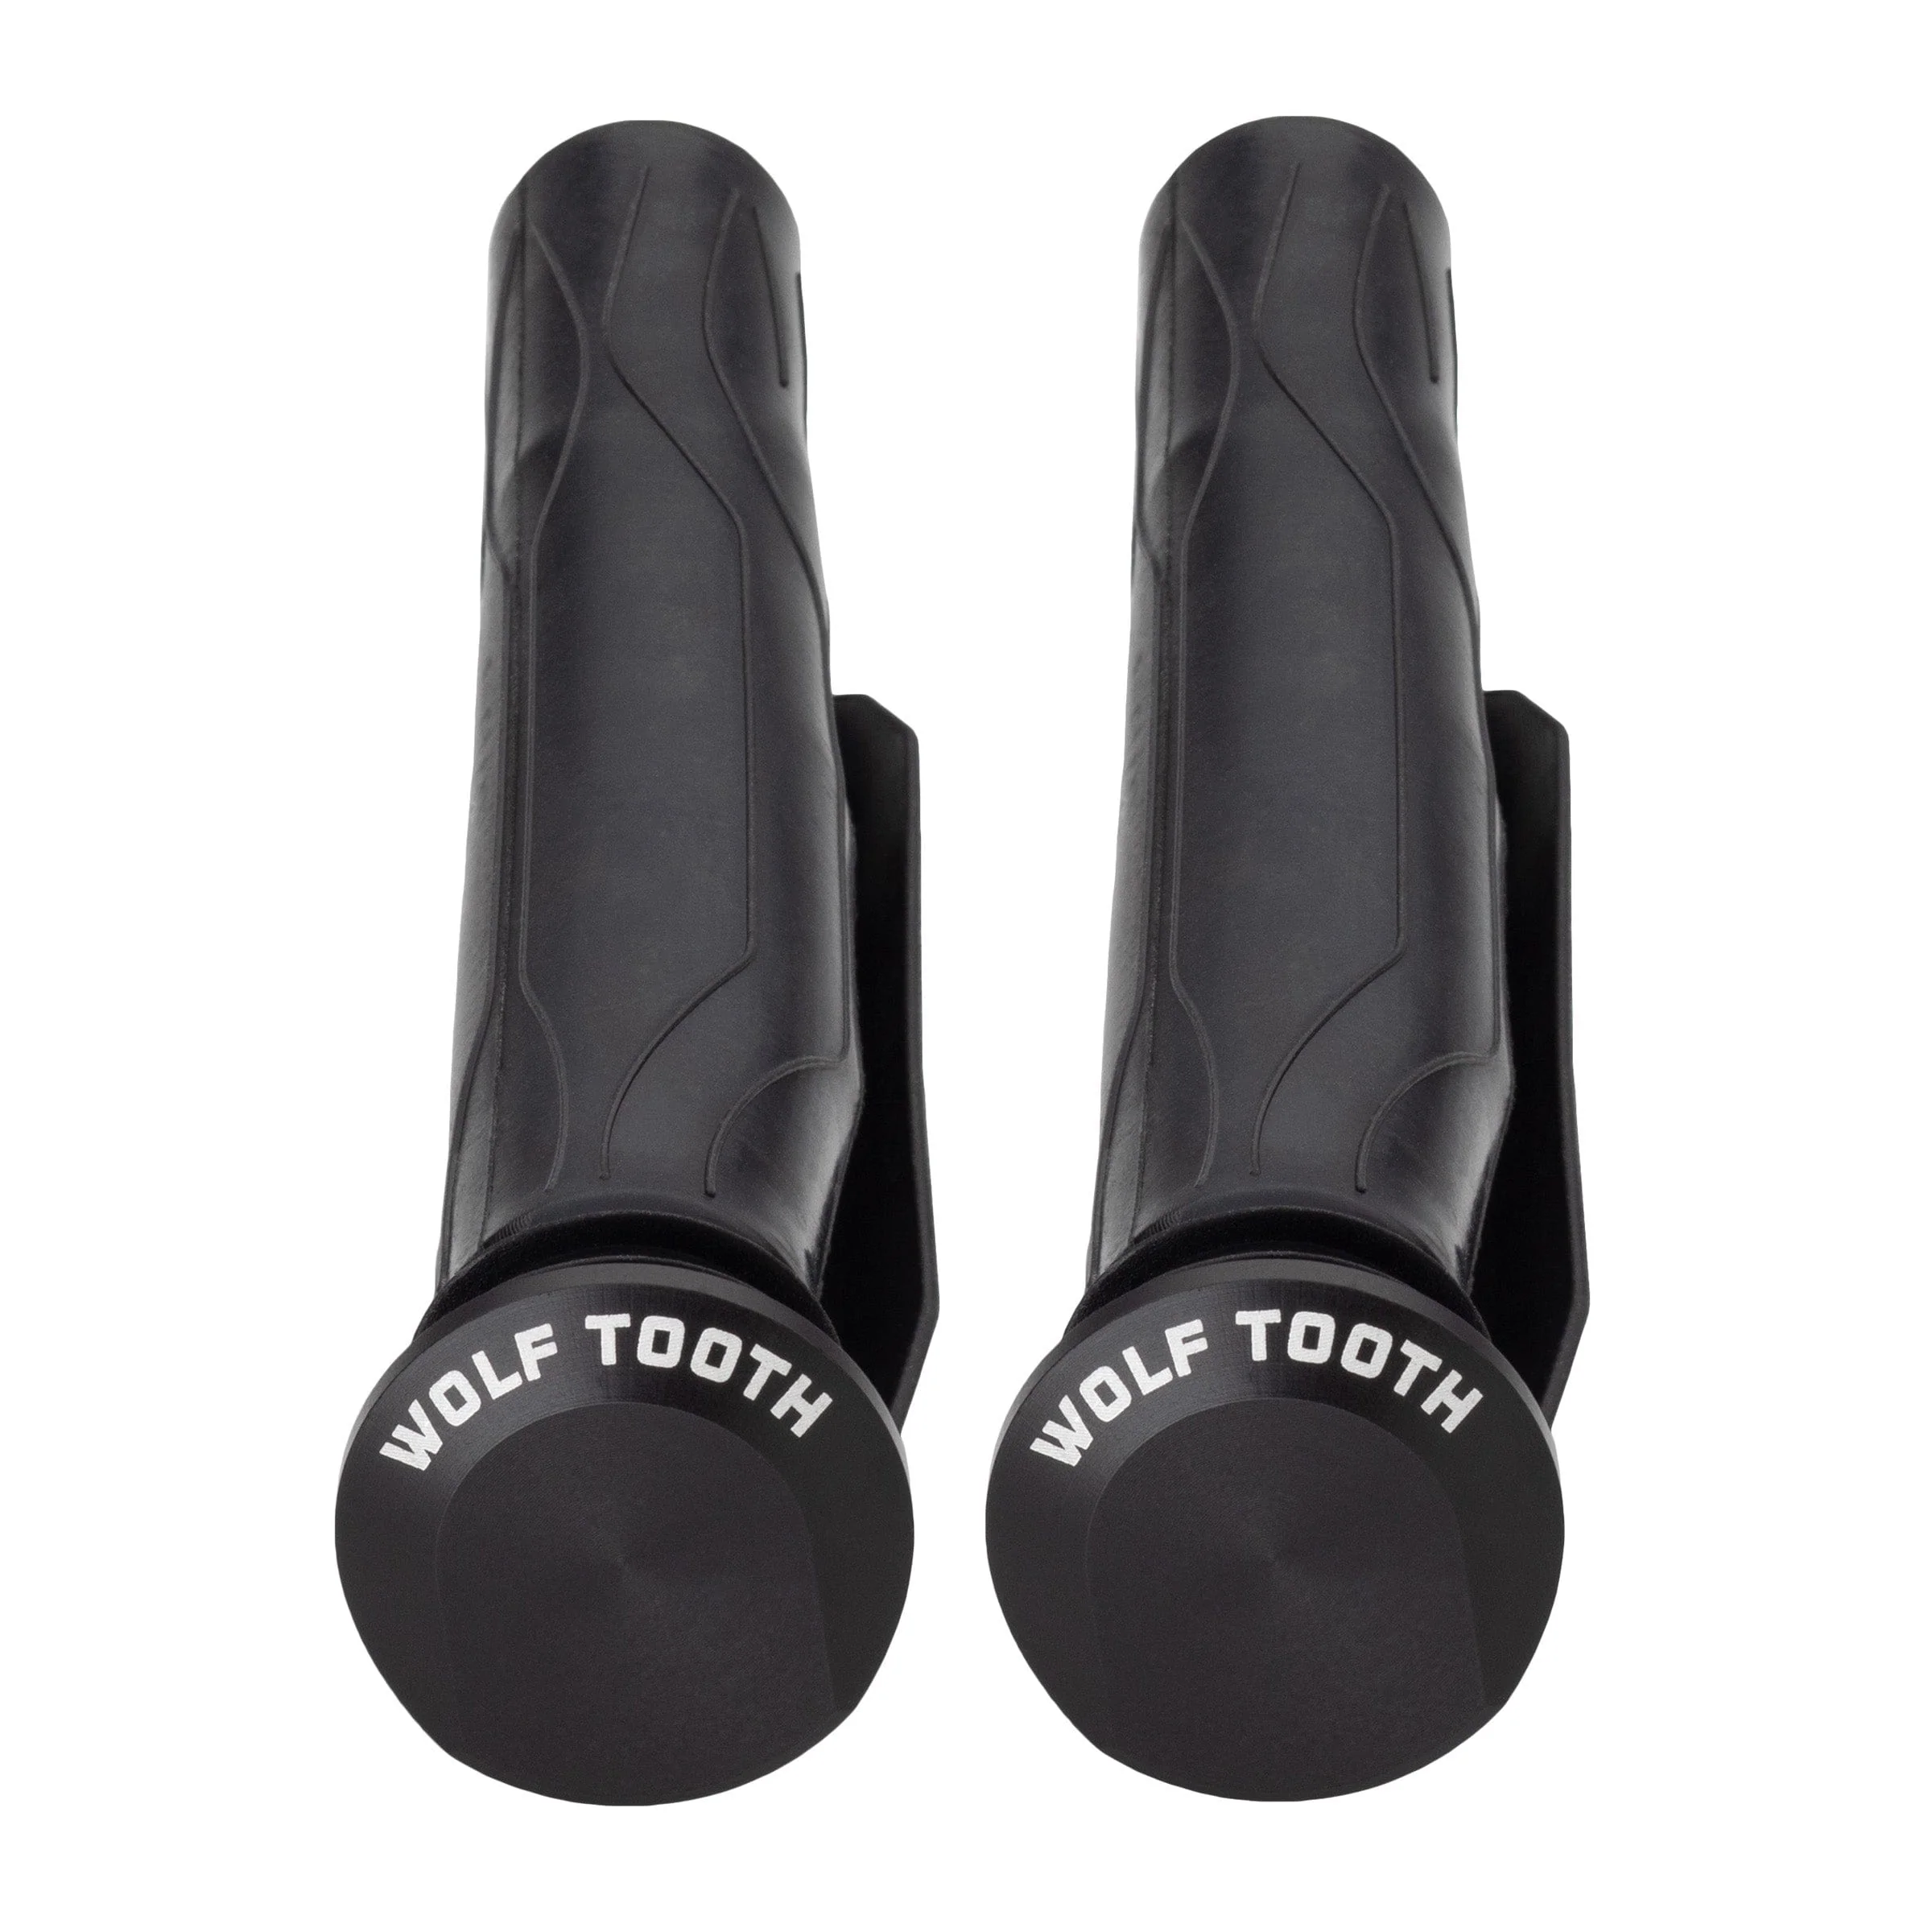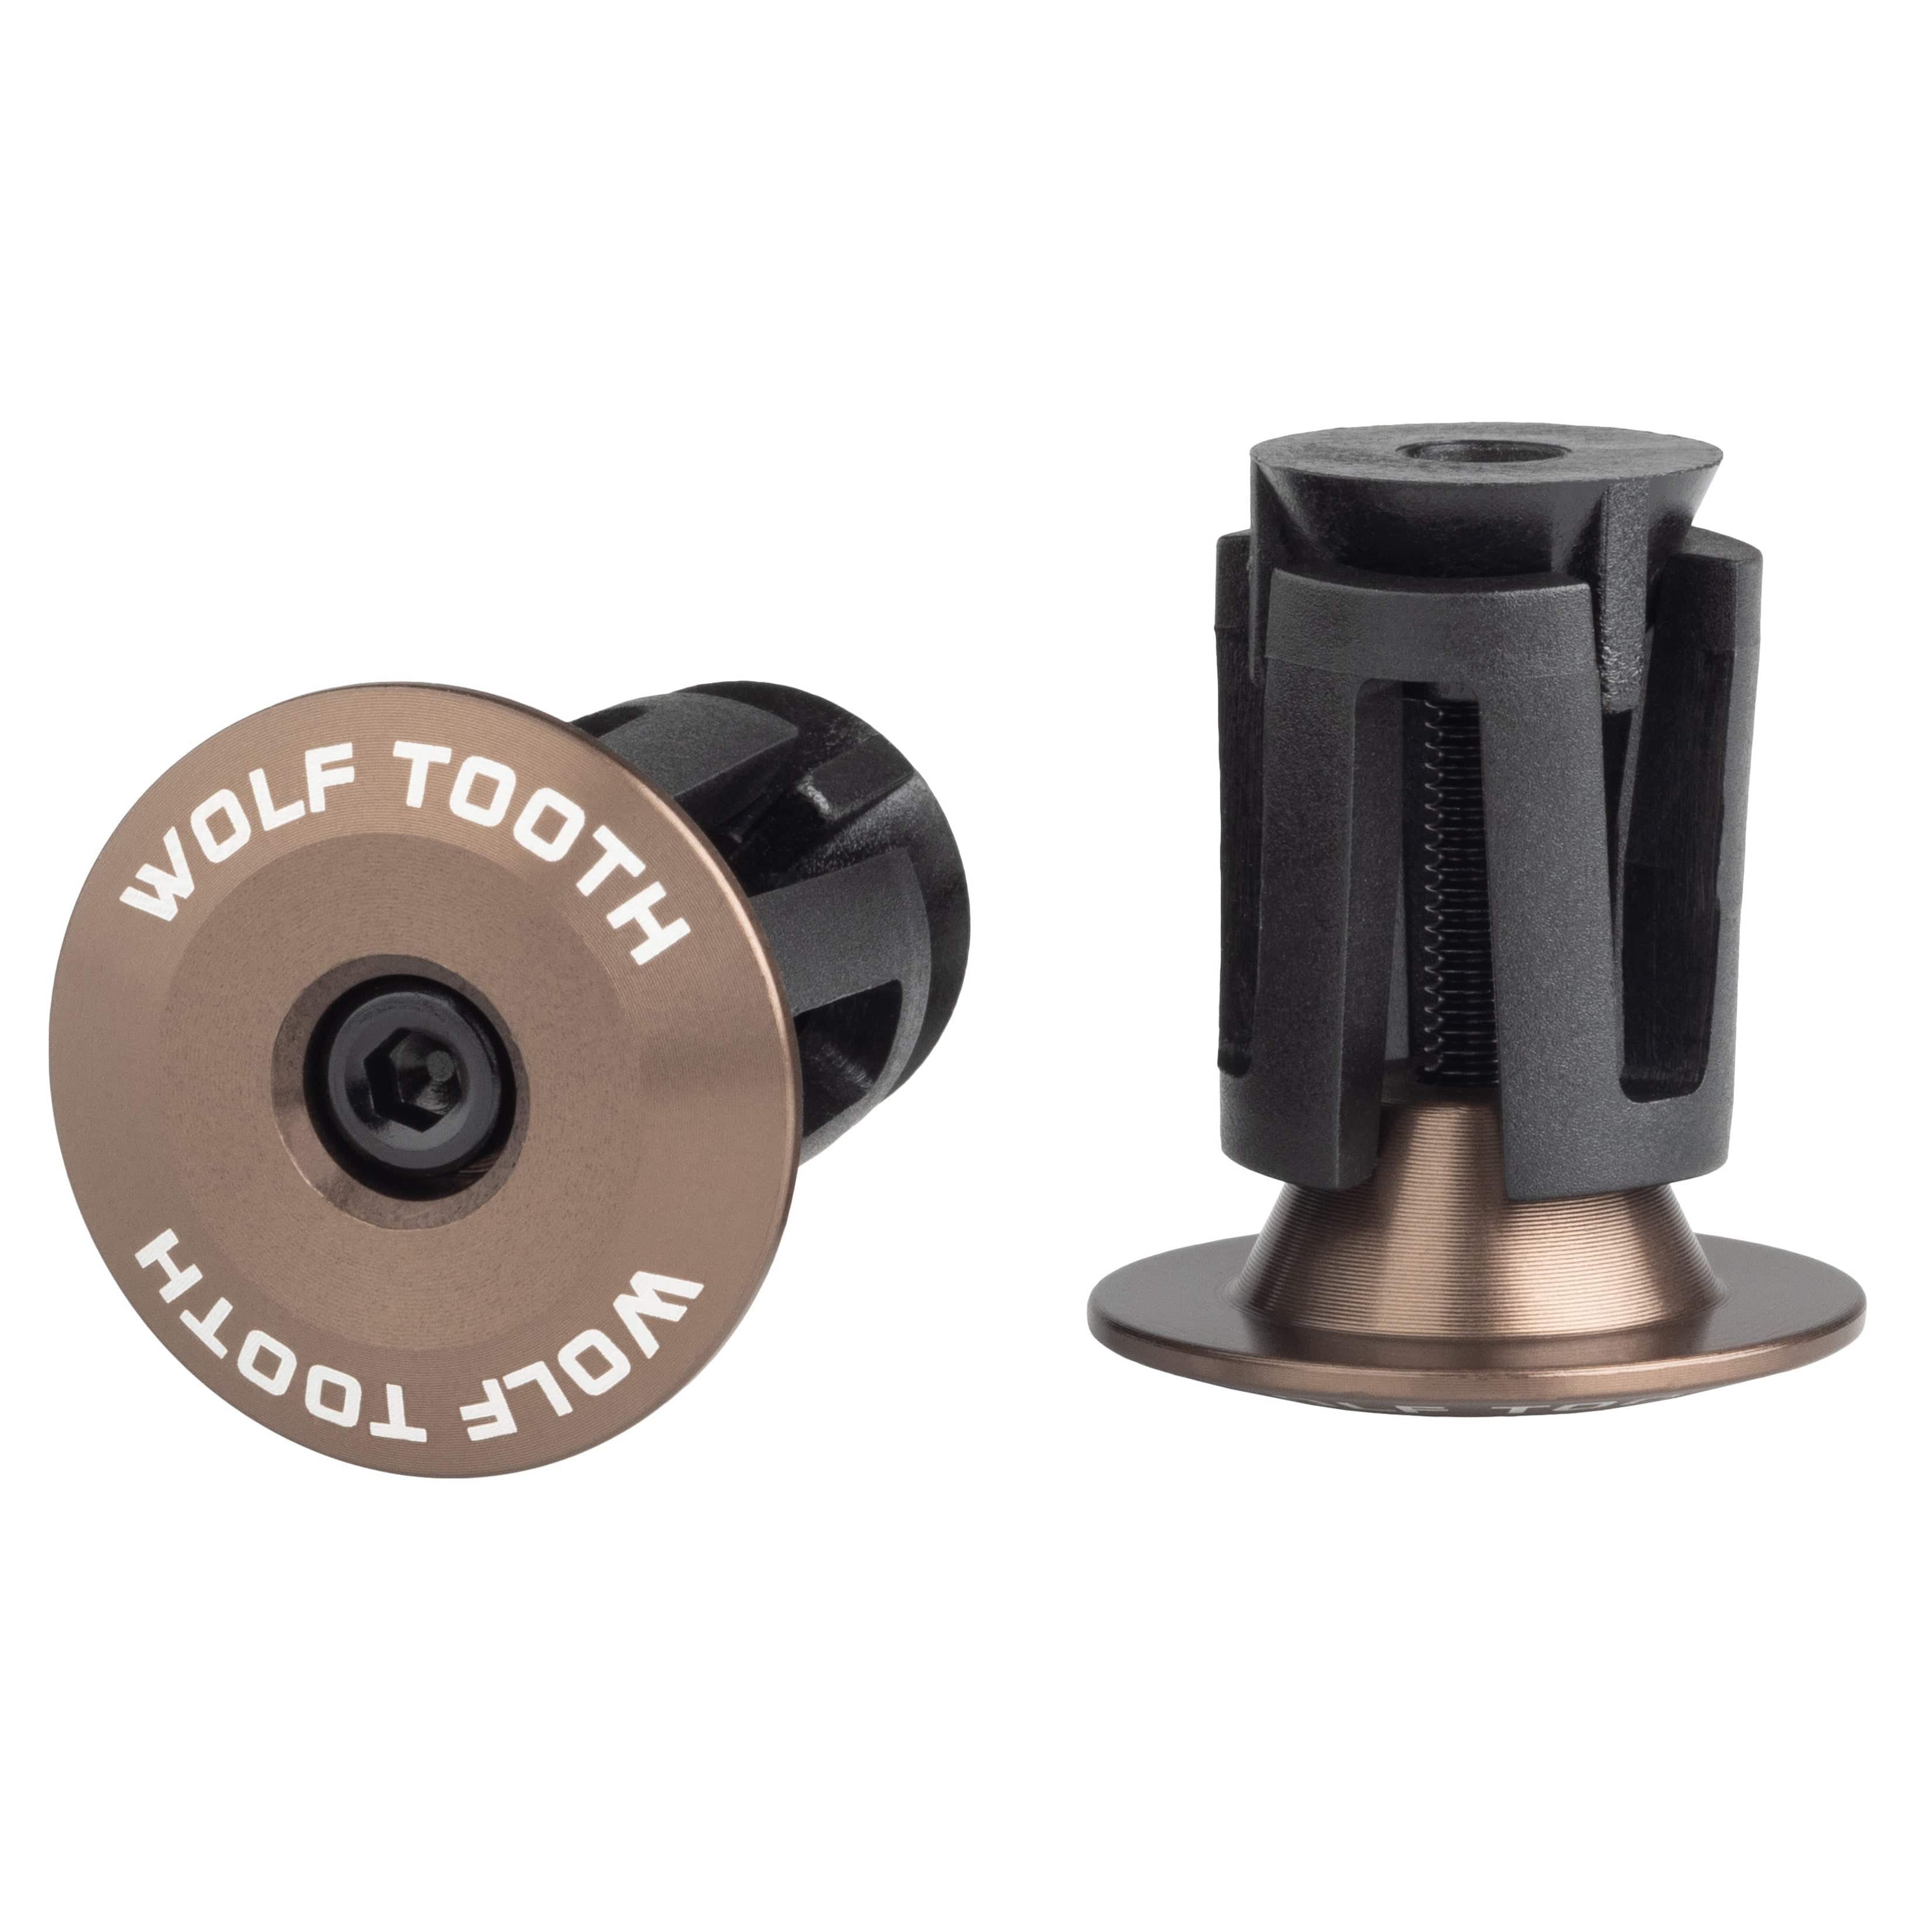


Locked-In Bar Ends
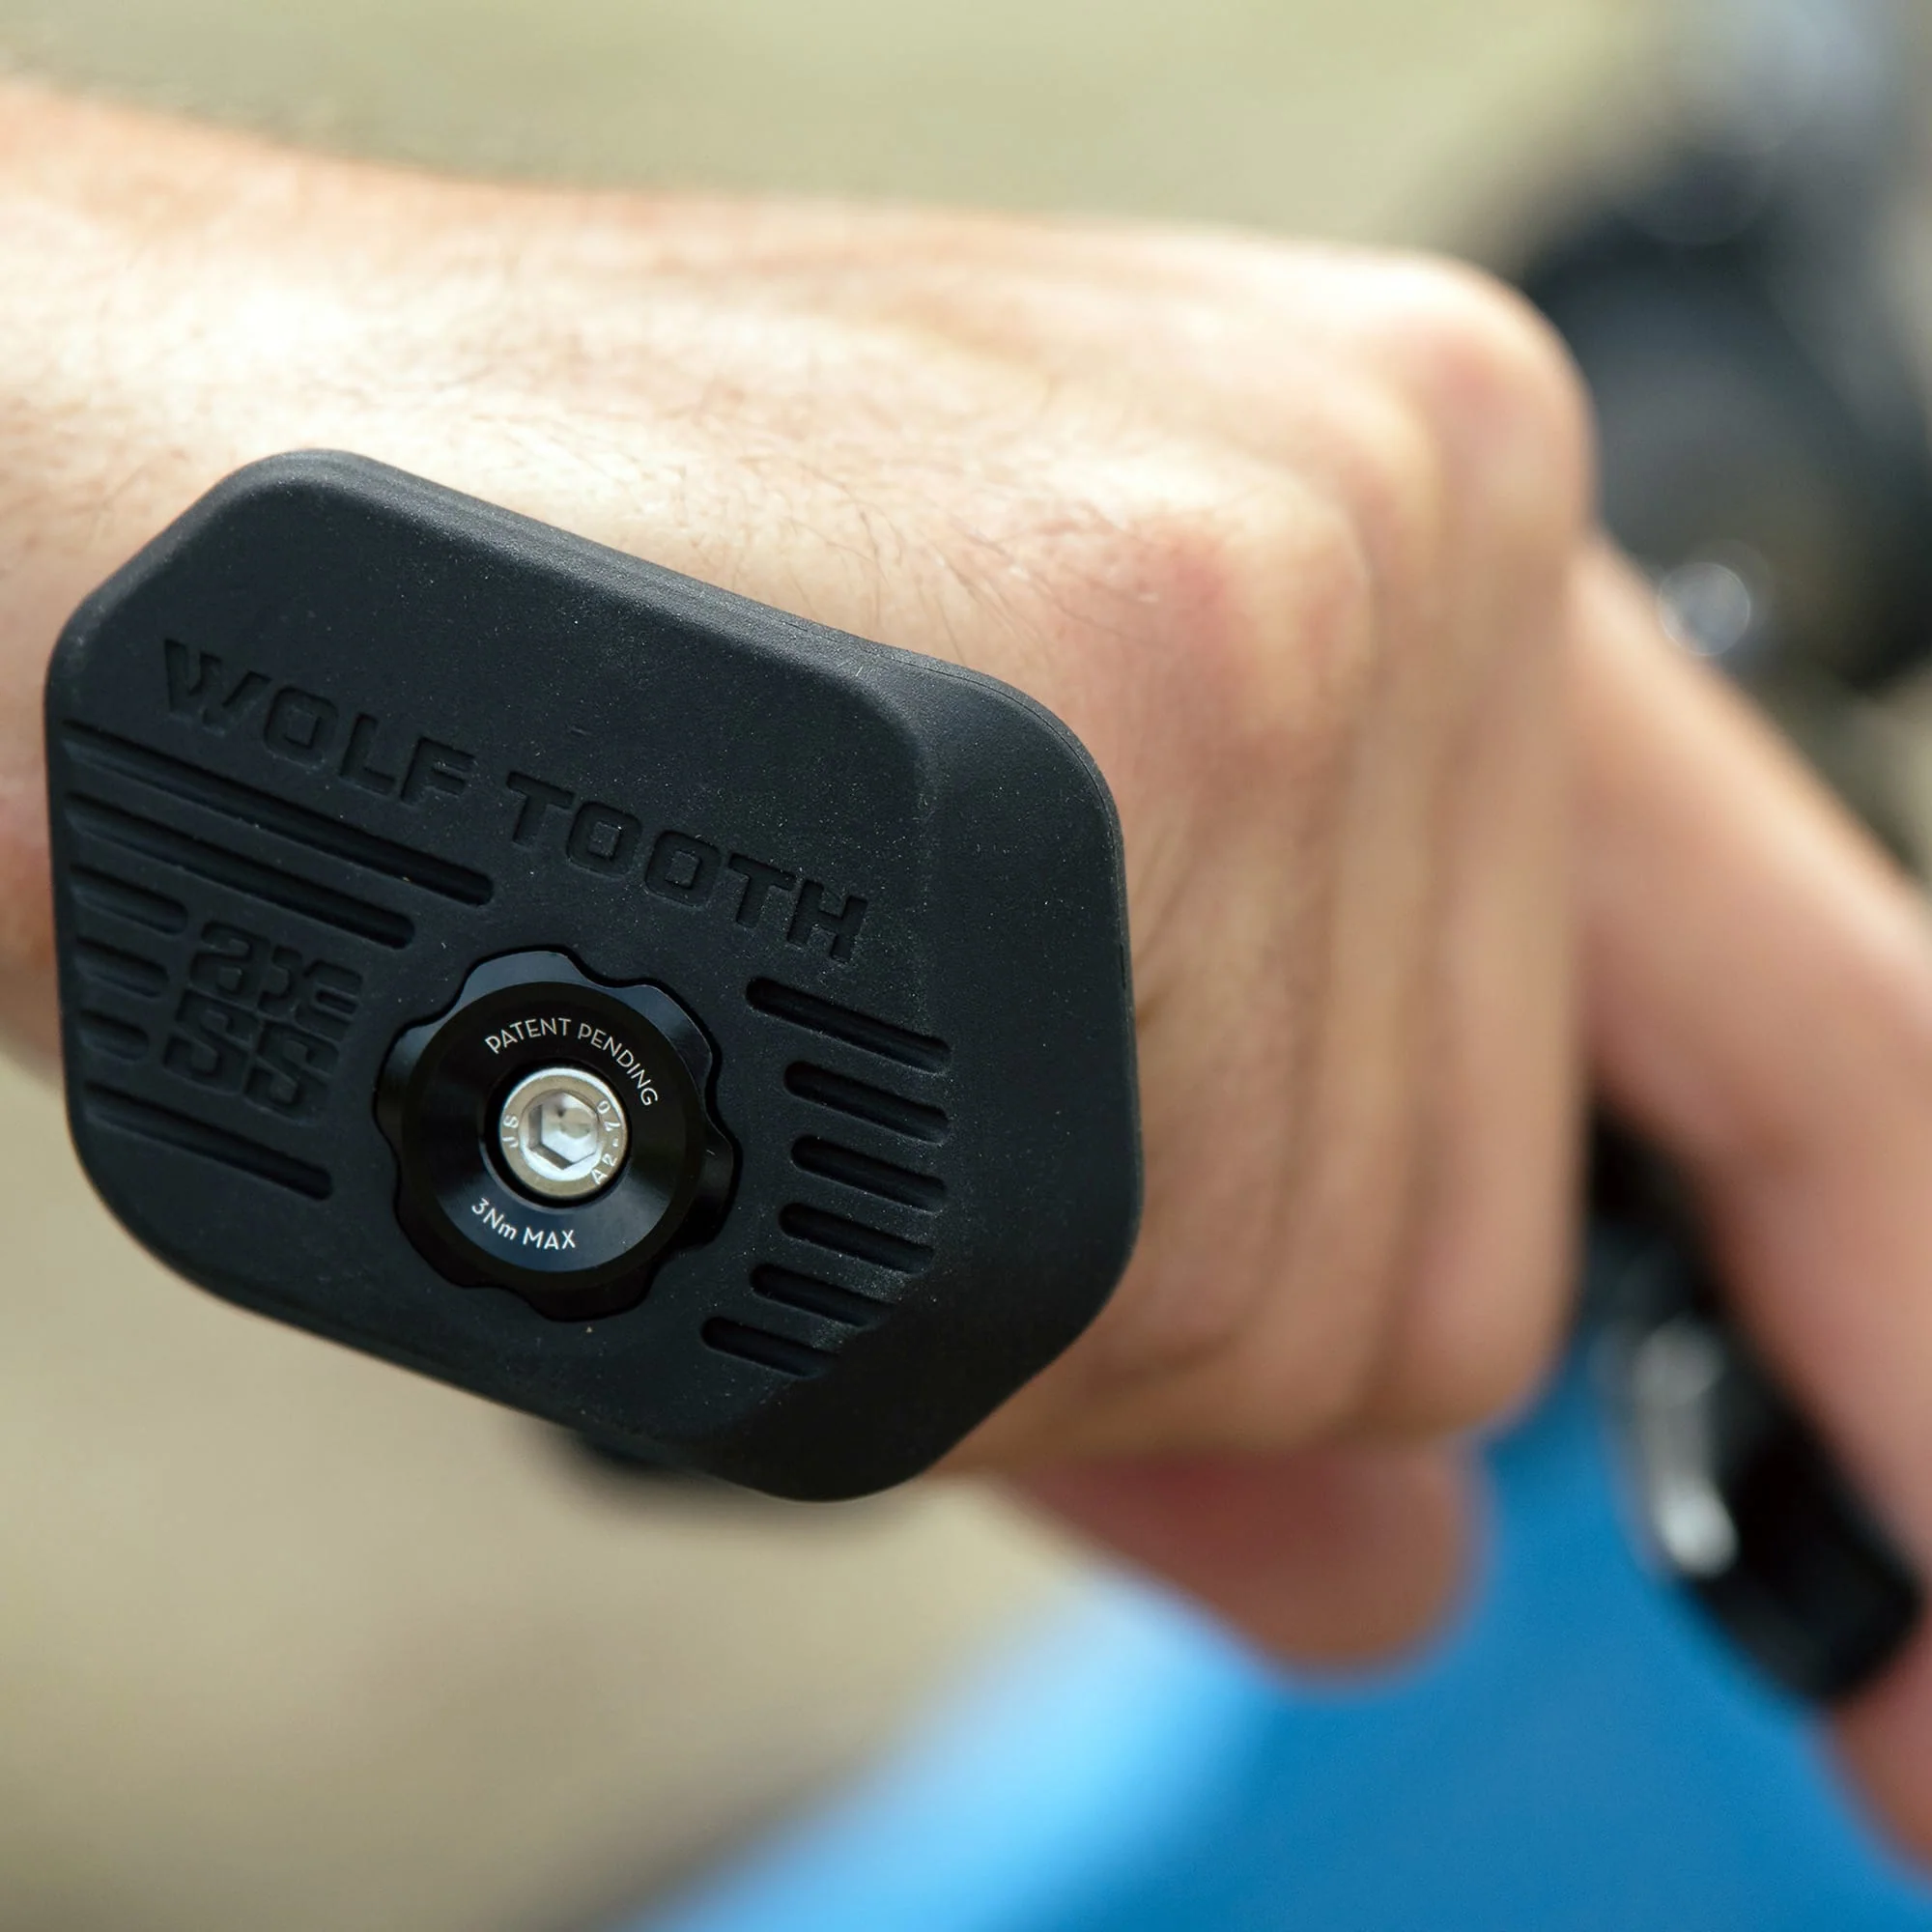
Wolf Tooth Locked-In Bar Ends give riders ultimate control and reduced fatigue during high speed technical riding and racing. This design is a collaboration with World Cup downhill athlete Joe Breeden.
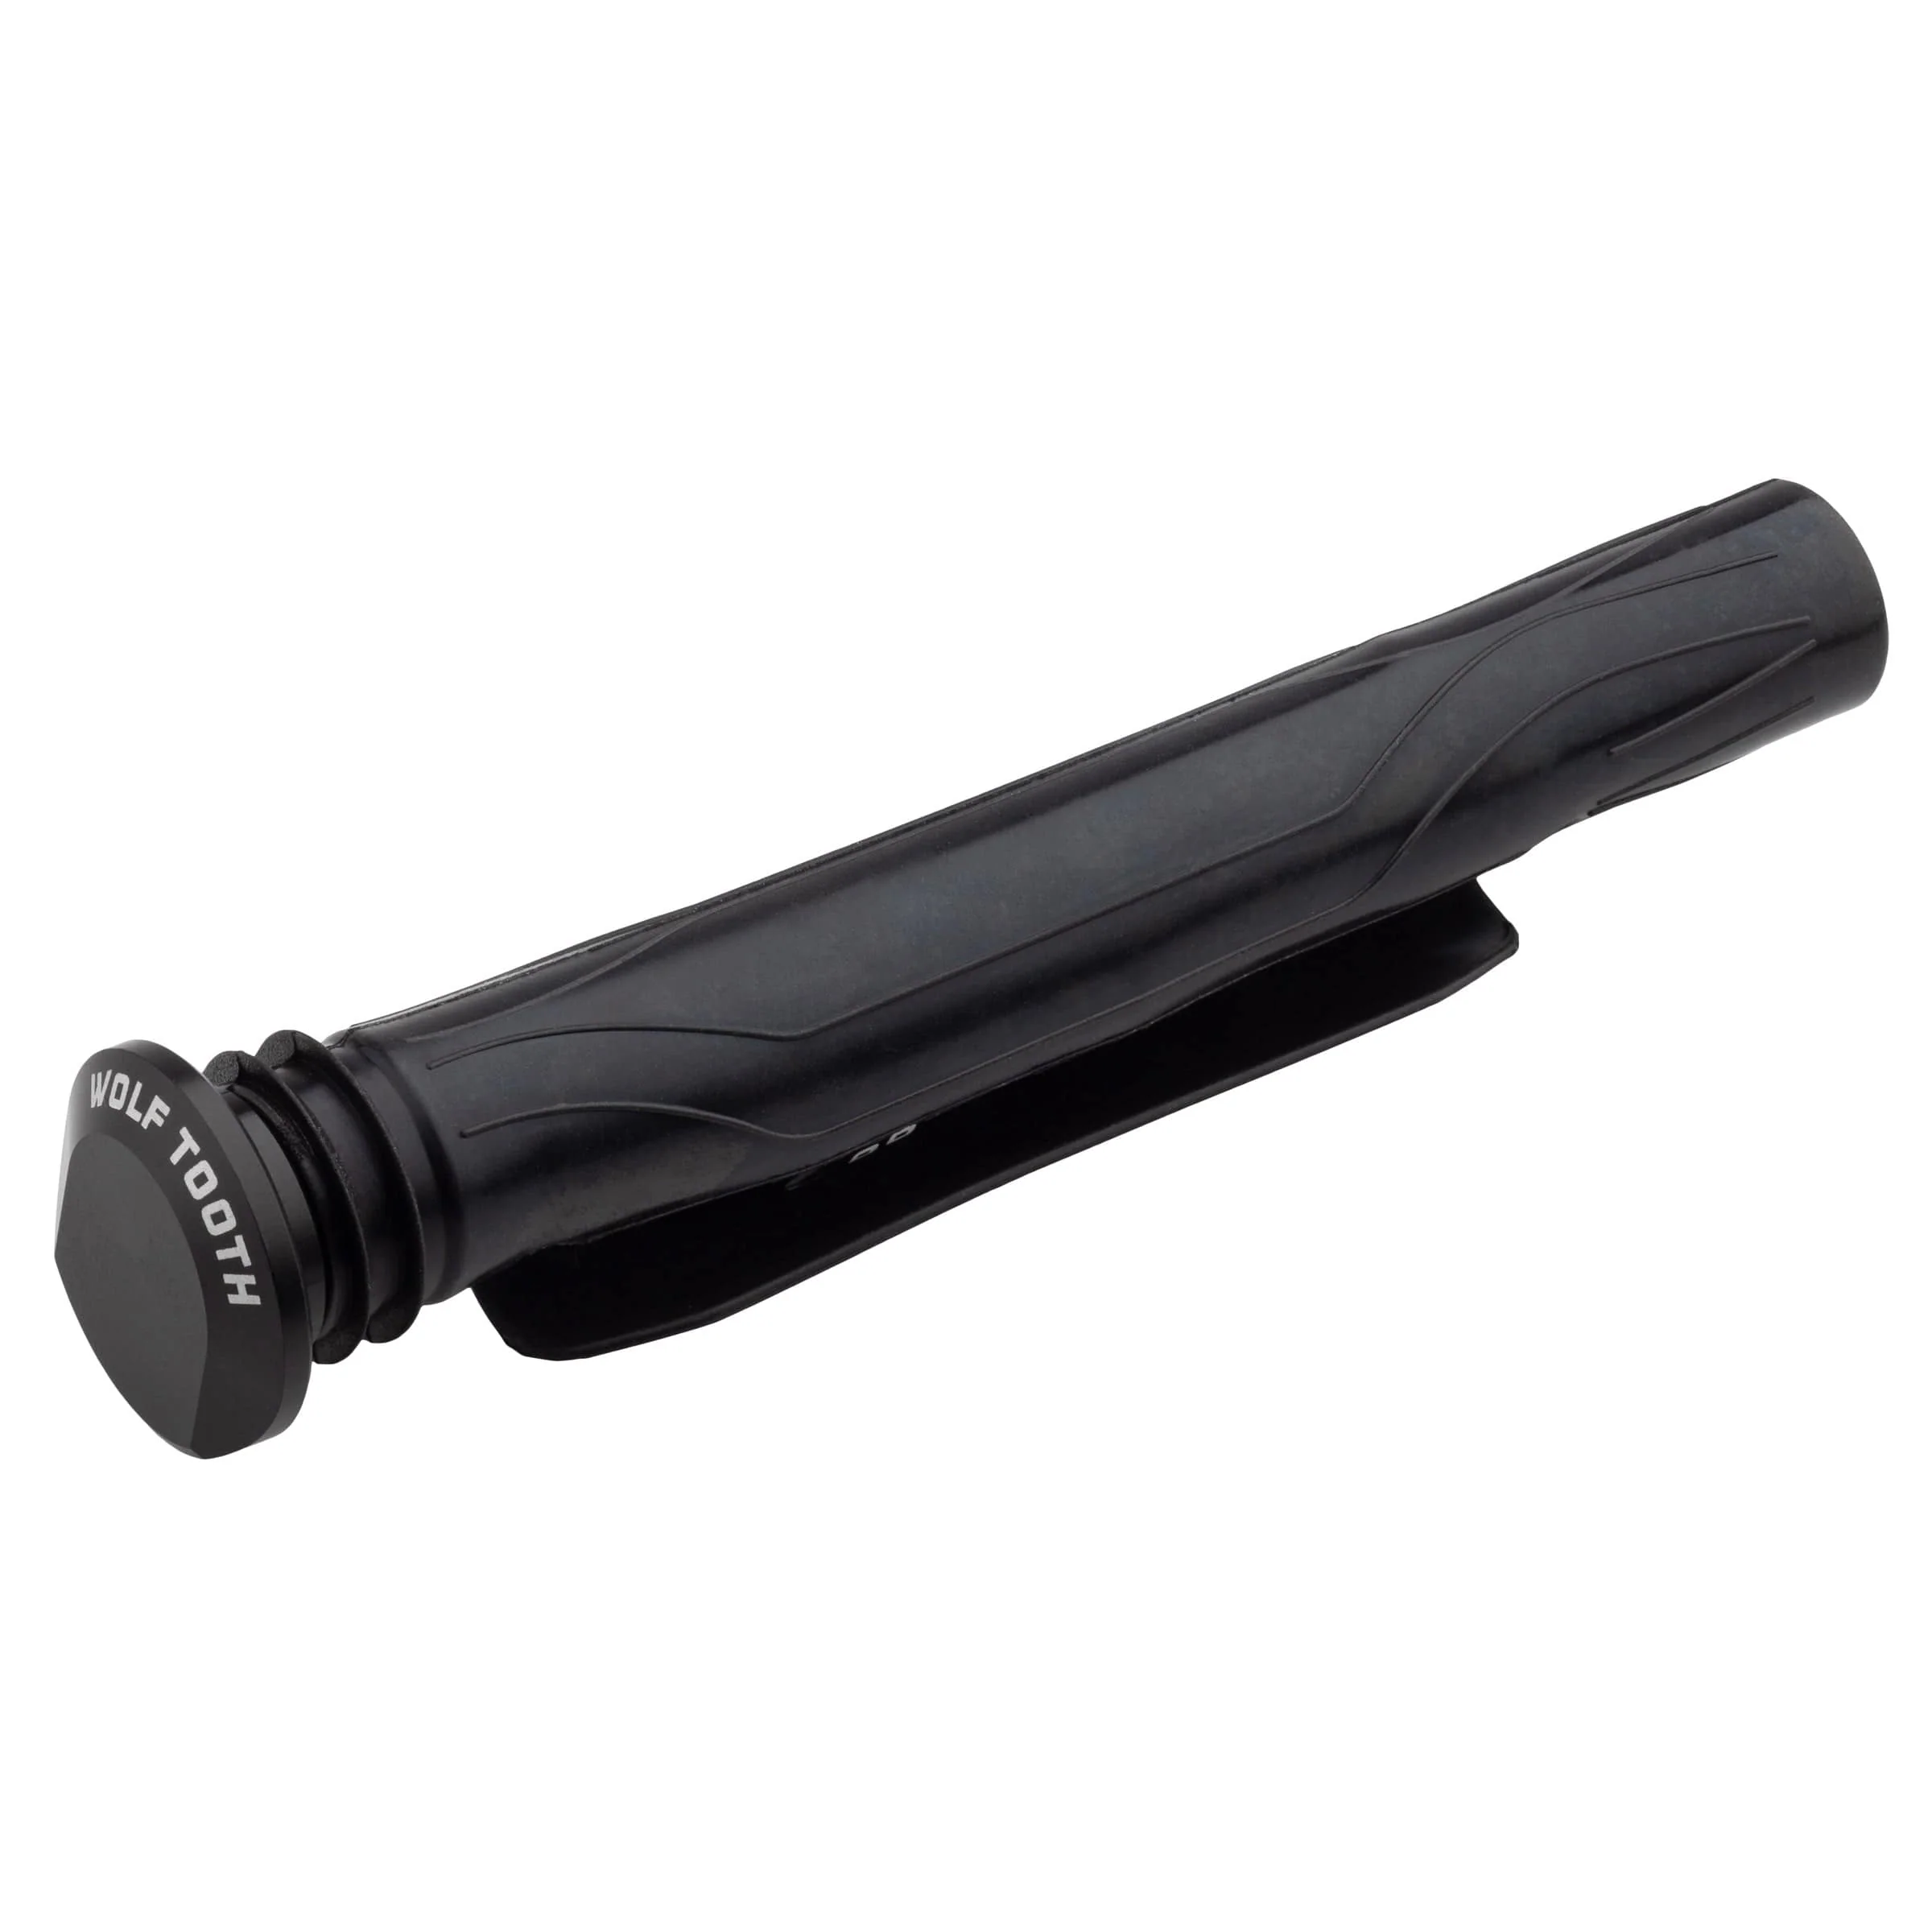
- Allows the rider to use the sides of their hands to push against the ends of the bars for increased control and reduced fatigue
- A firm ergonomic rubber outboard flange supports and locks in the riders hand allowing for a lighter grip on the bars and reduced arm pump
- Protects the hand/pinky finger
Compatibility
- Compatible with most carbon and aluminum handlebars with an 18.0mm or wider internal diameter.
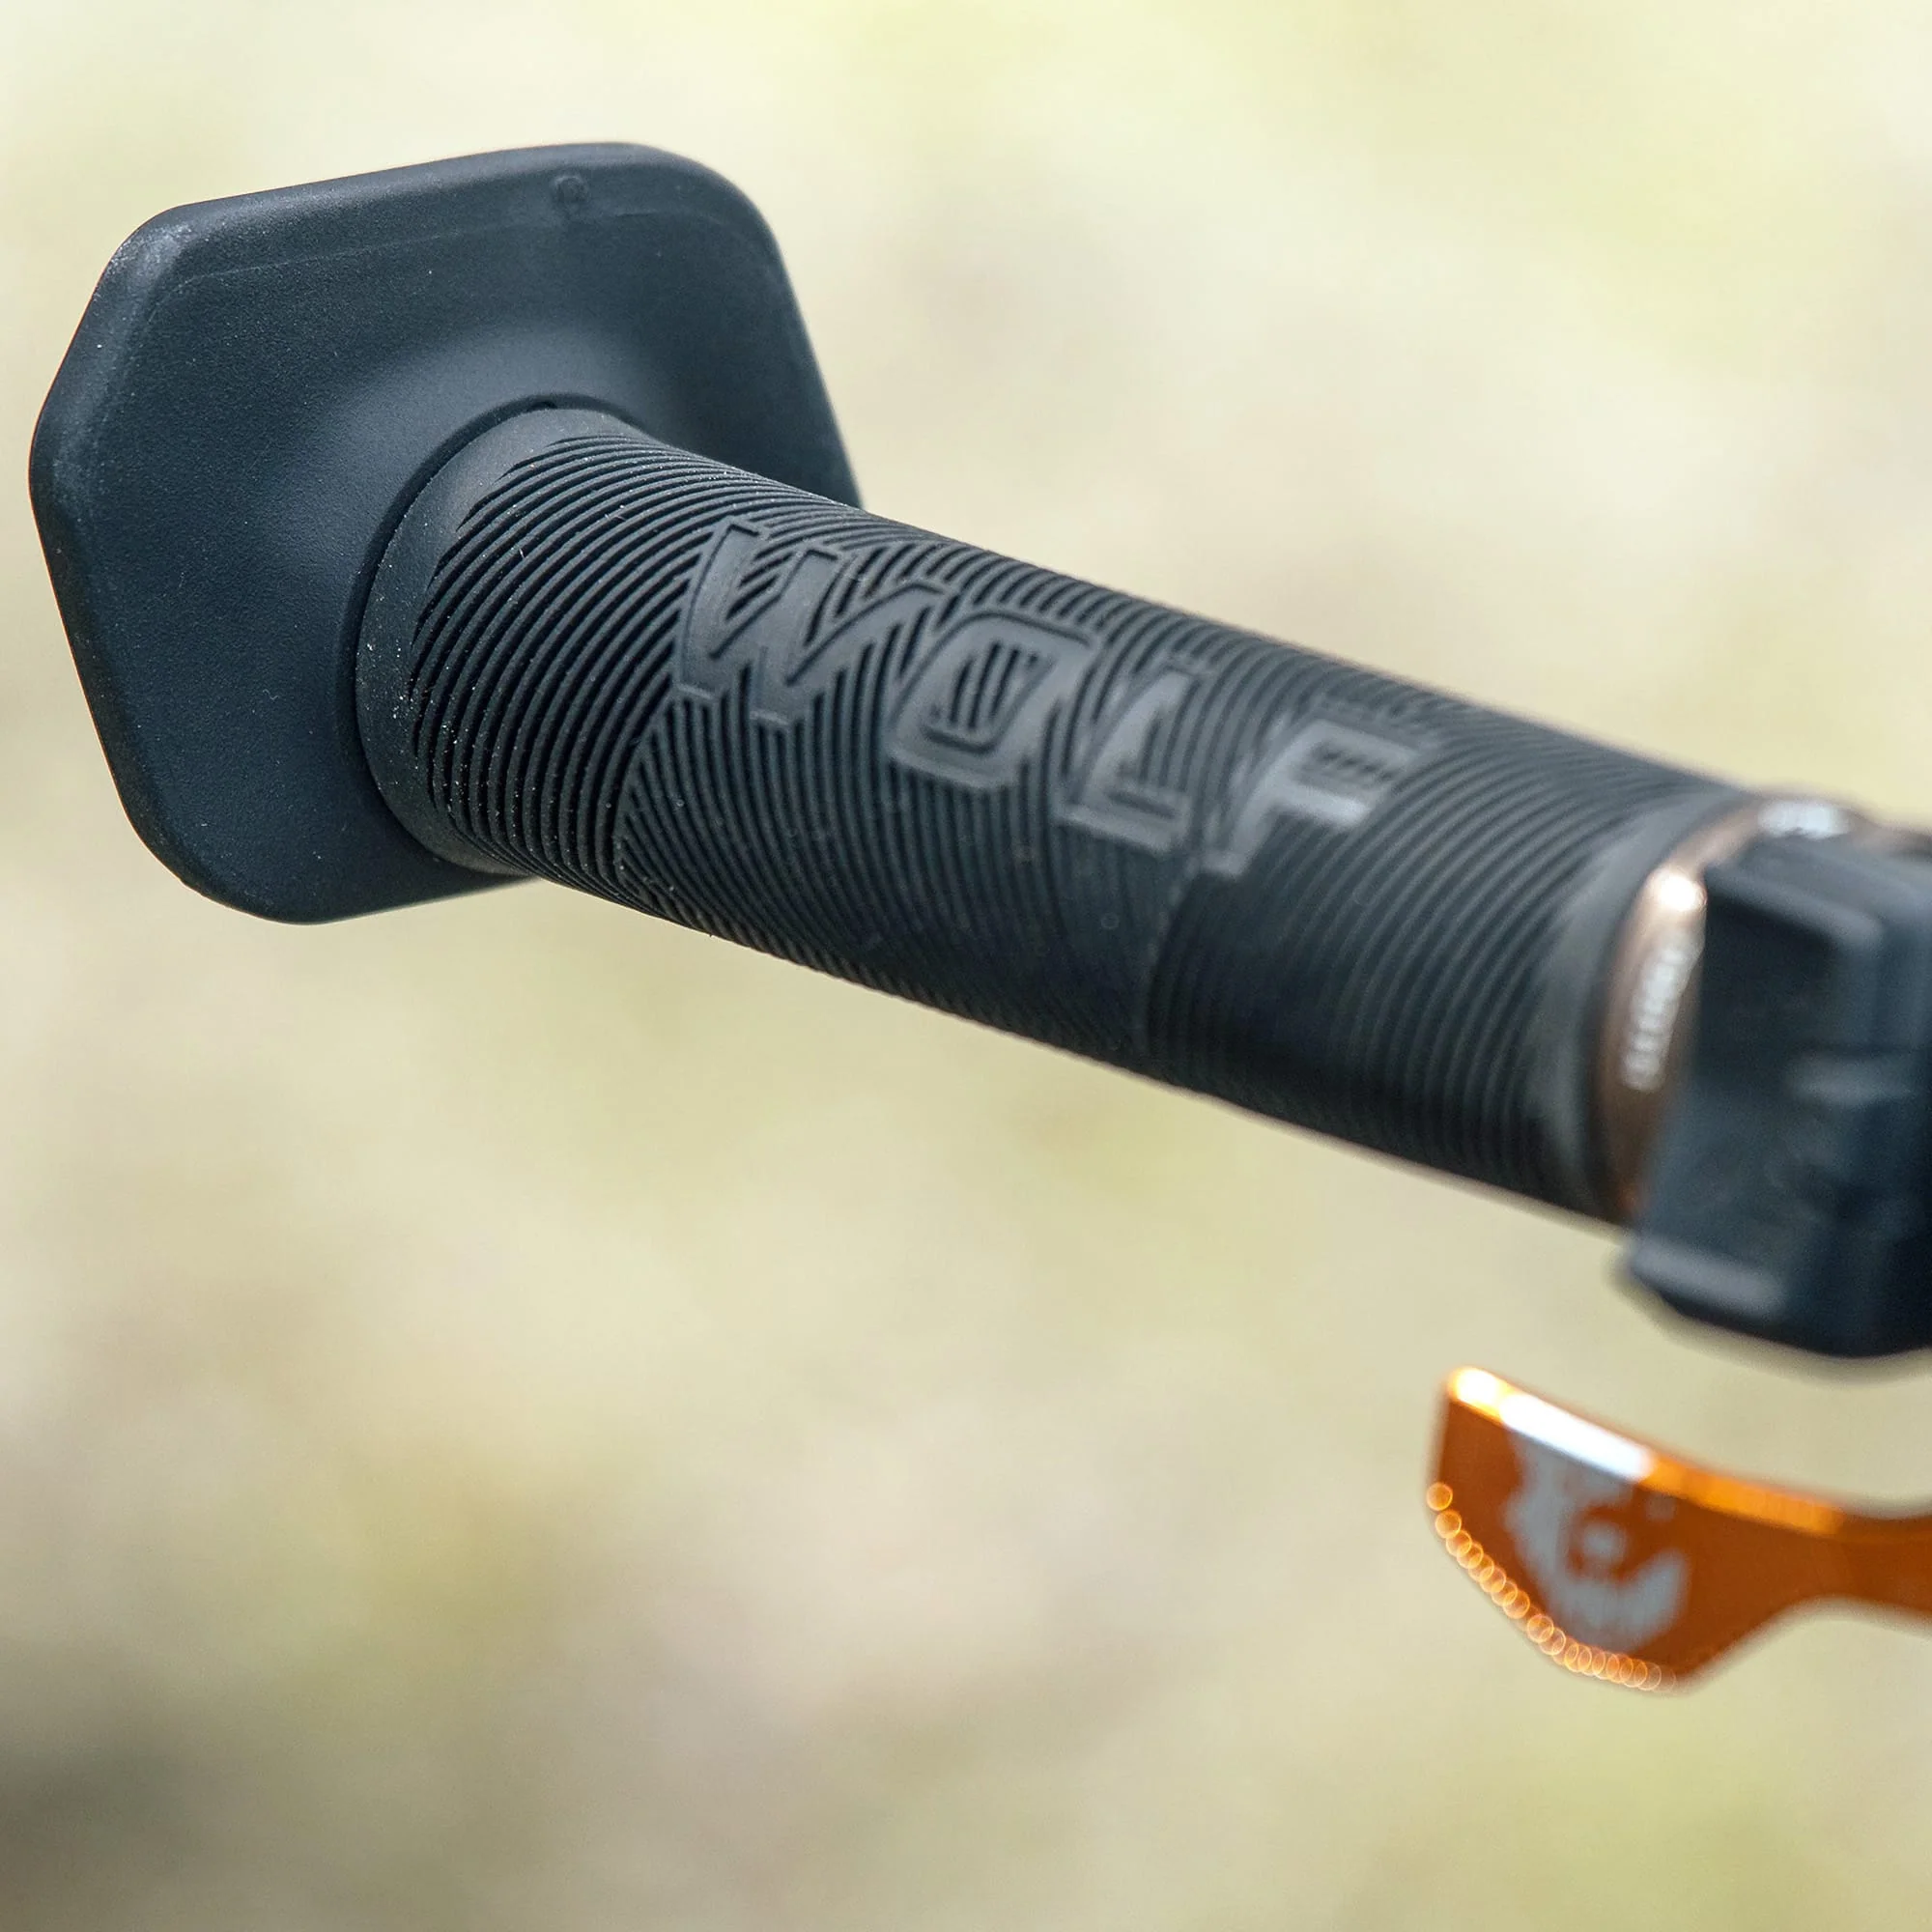
- Use of the Locked-In Bar Ends requires a grip with an open end. Many grips with closed ends can still be made to work by punching out the closed end. We sell a punch for this here.
- Some grips may have a removable bar end but still have a small lip on the plastic liner that keeps the grip from being able to be pushed inboard from the end of the bar [Ergon GA2, GDH]. We recommend removing this lip by sanding it off using a Dremel tool.
- What grips don't work:
- Grips with angled ends [Ergon GE1 Evo]
- We don’t suggest using grips with outboard lock on clamps, especially if the outboard clamp is an integrated bar end [Chromag Squarewave]
Installation
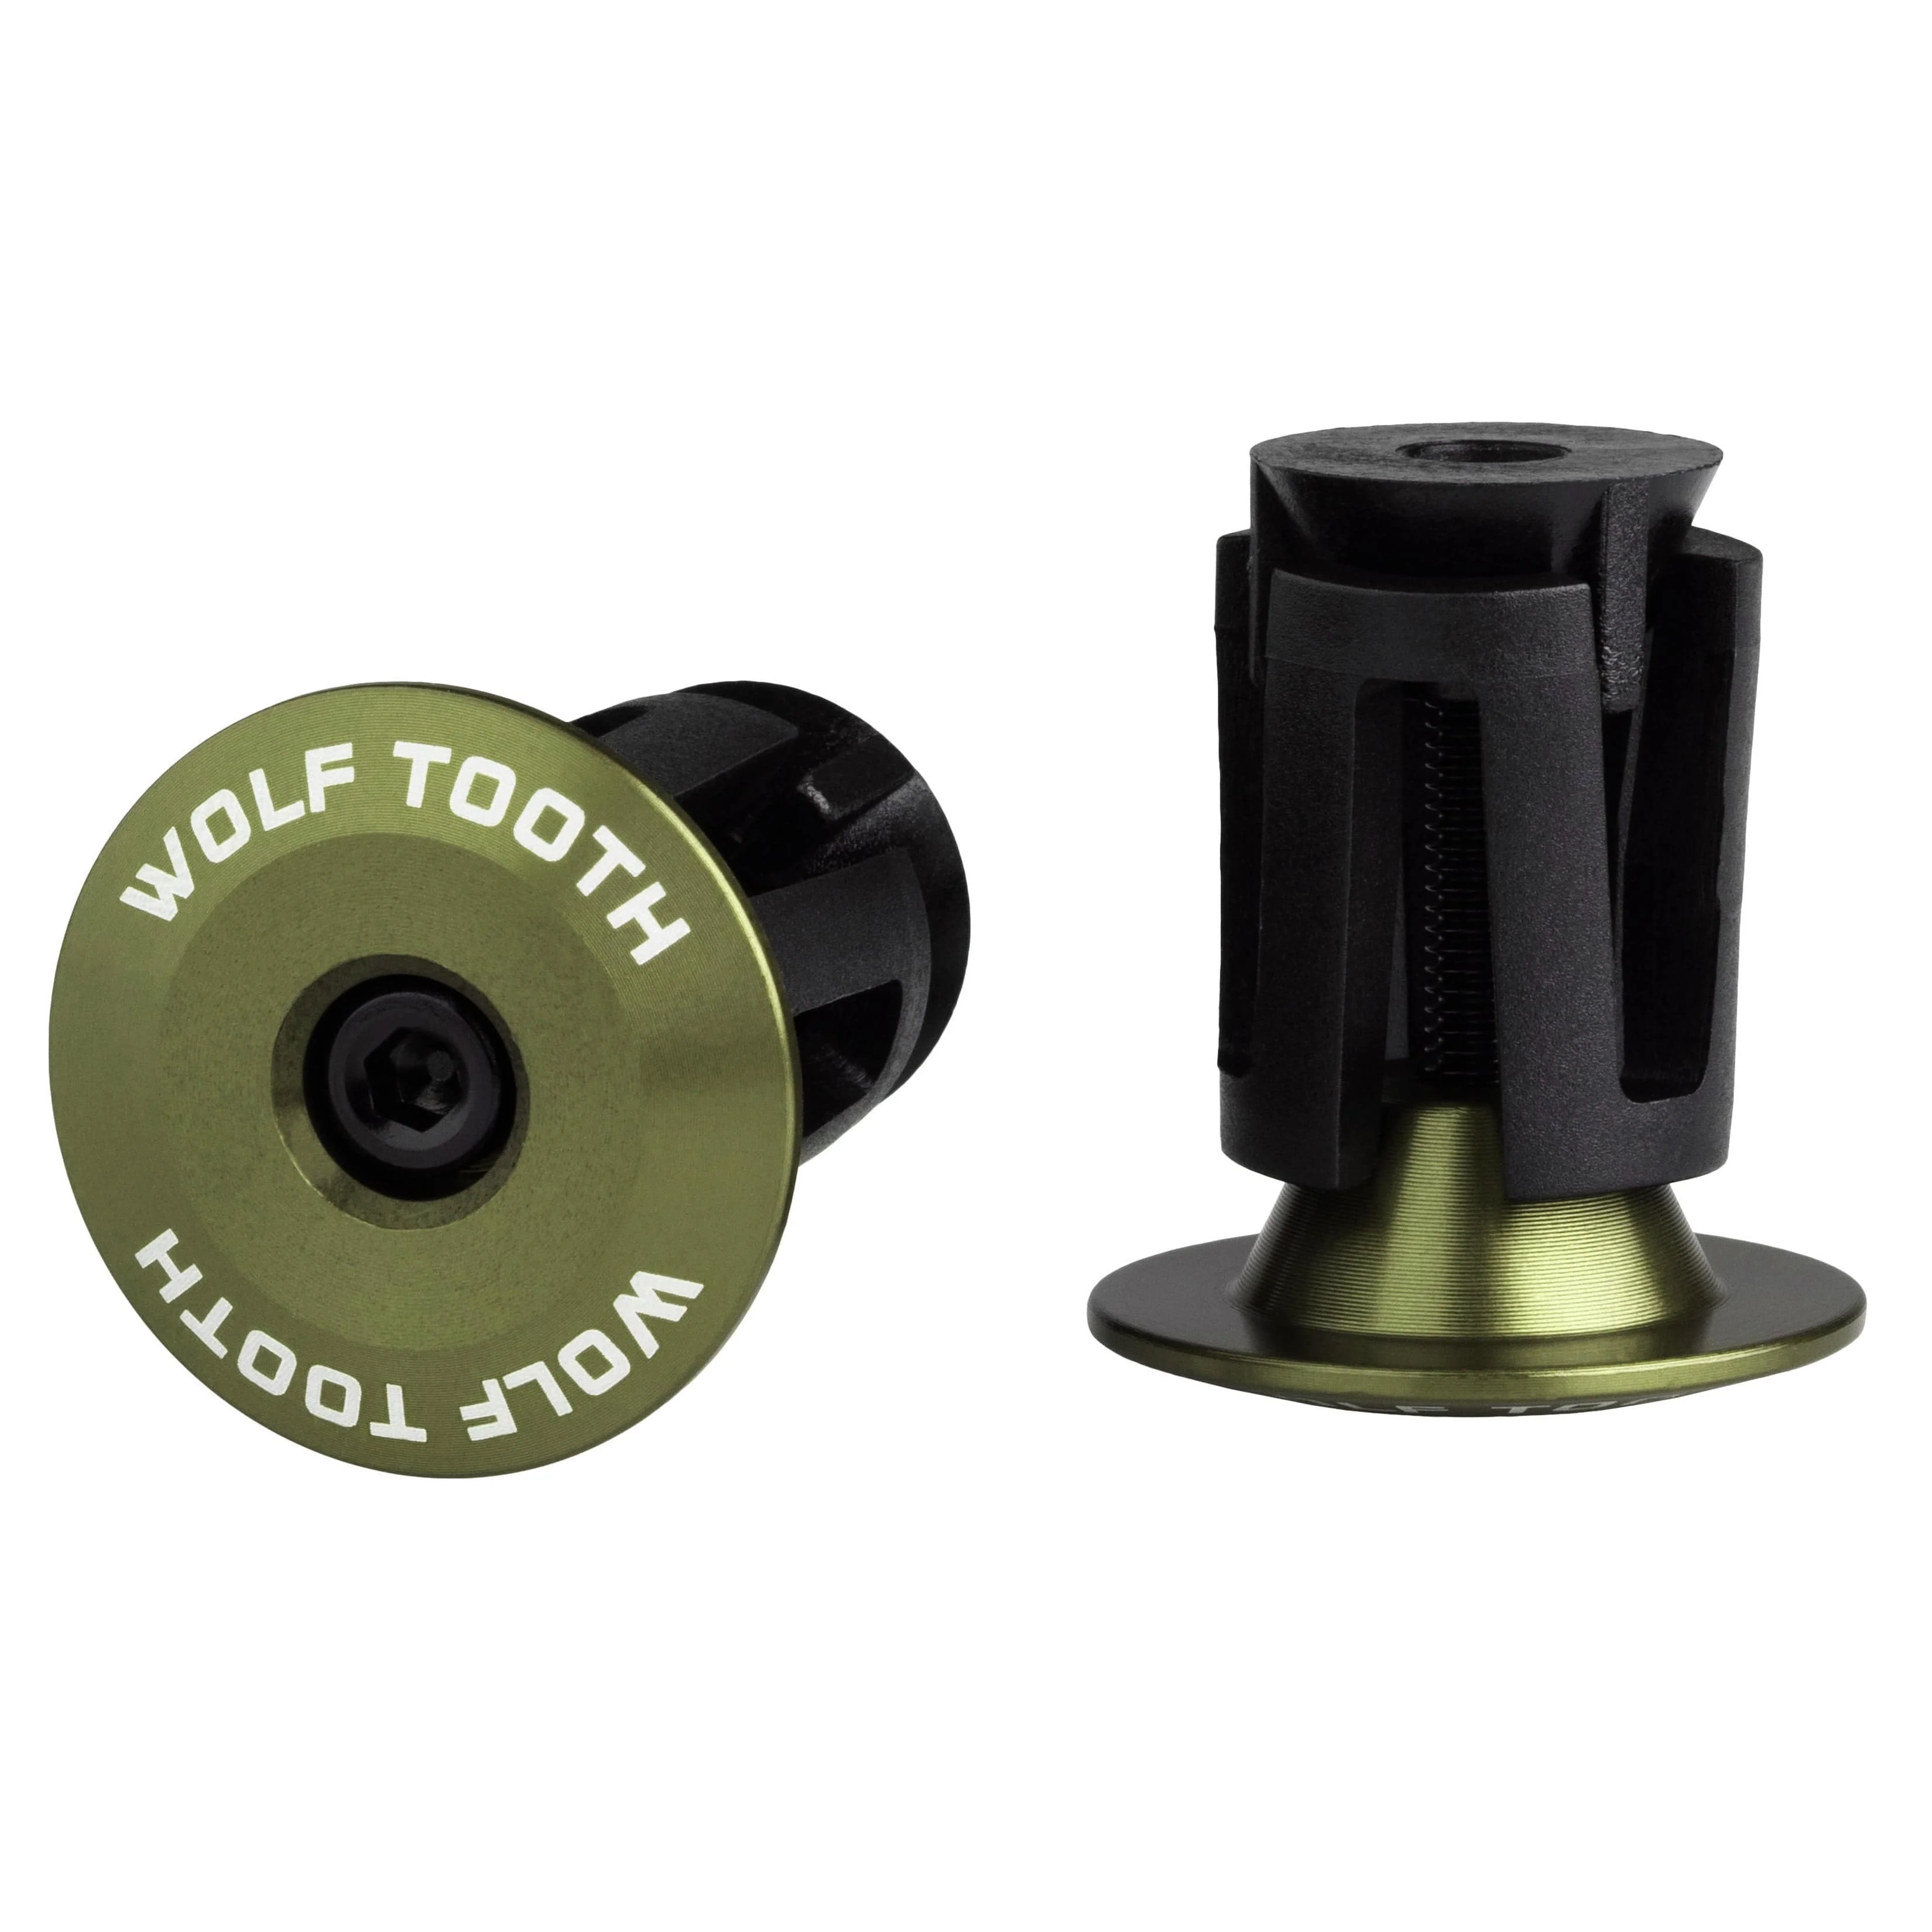
- Move grips inboard away from the end of the handlebars.
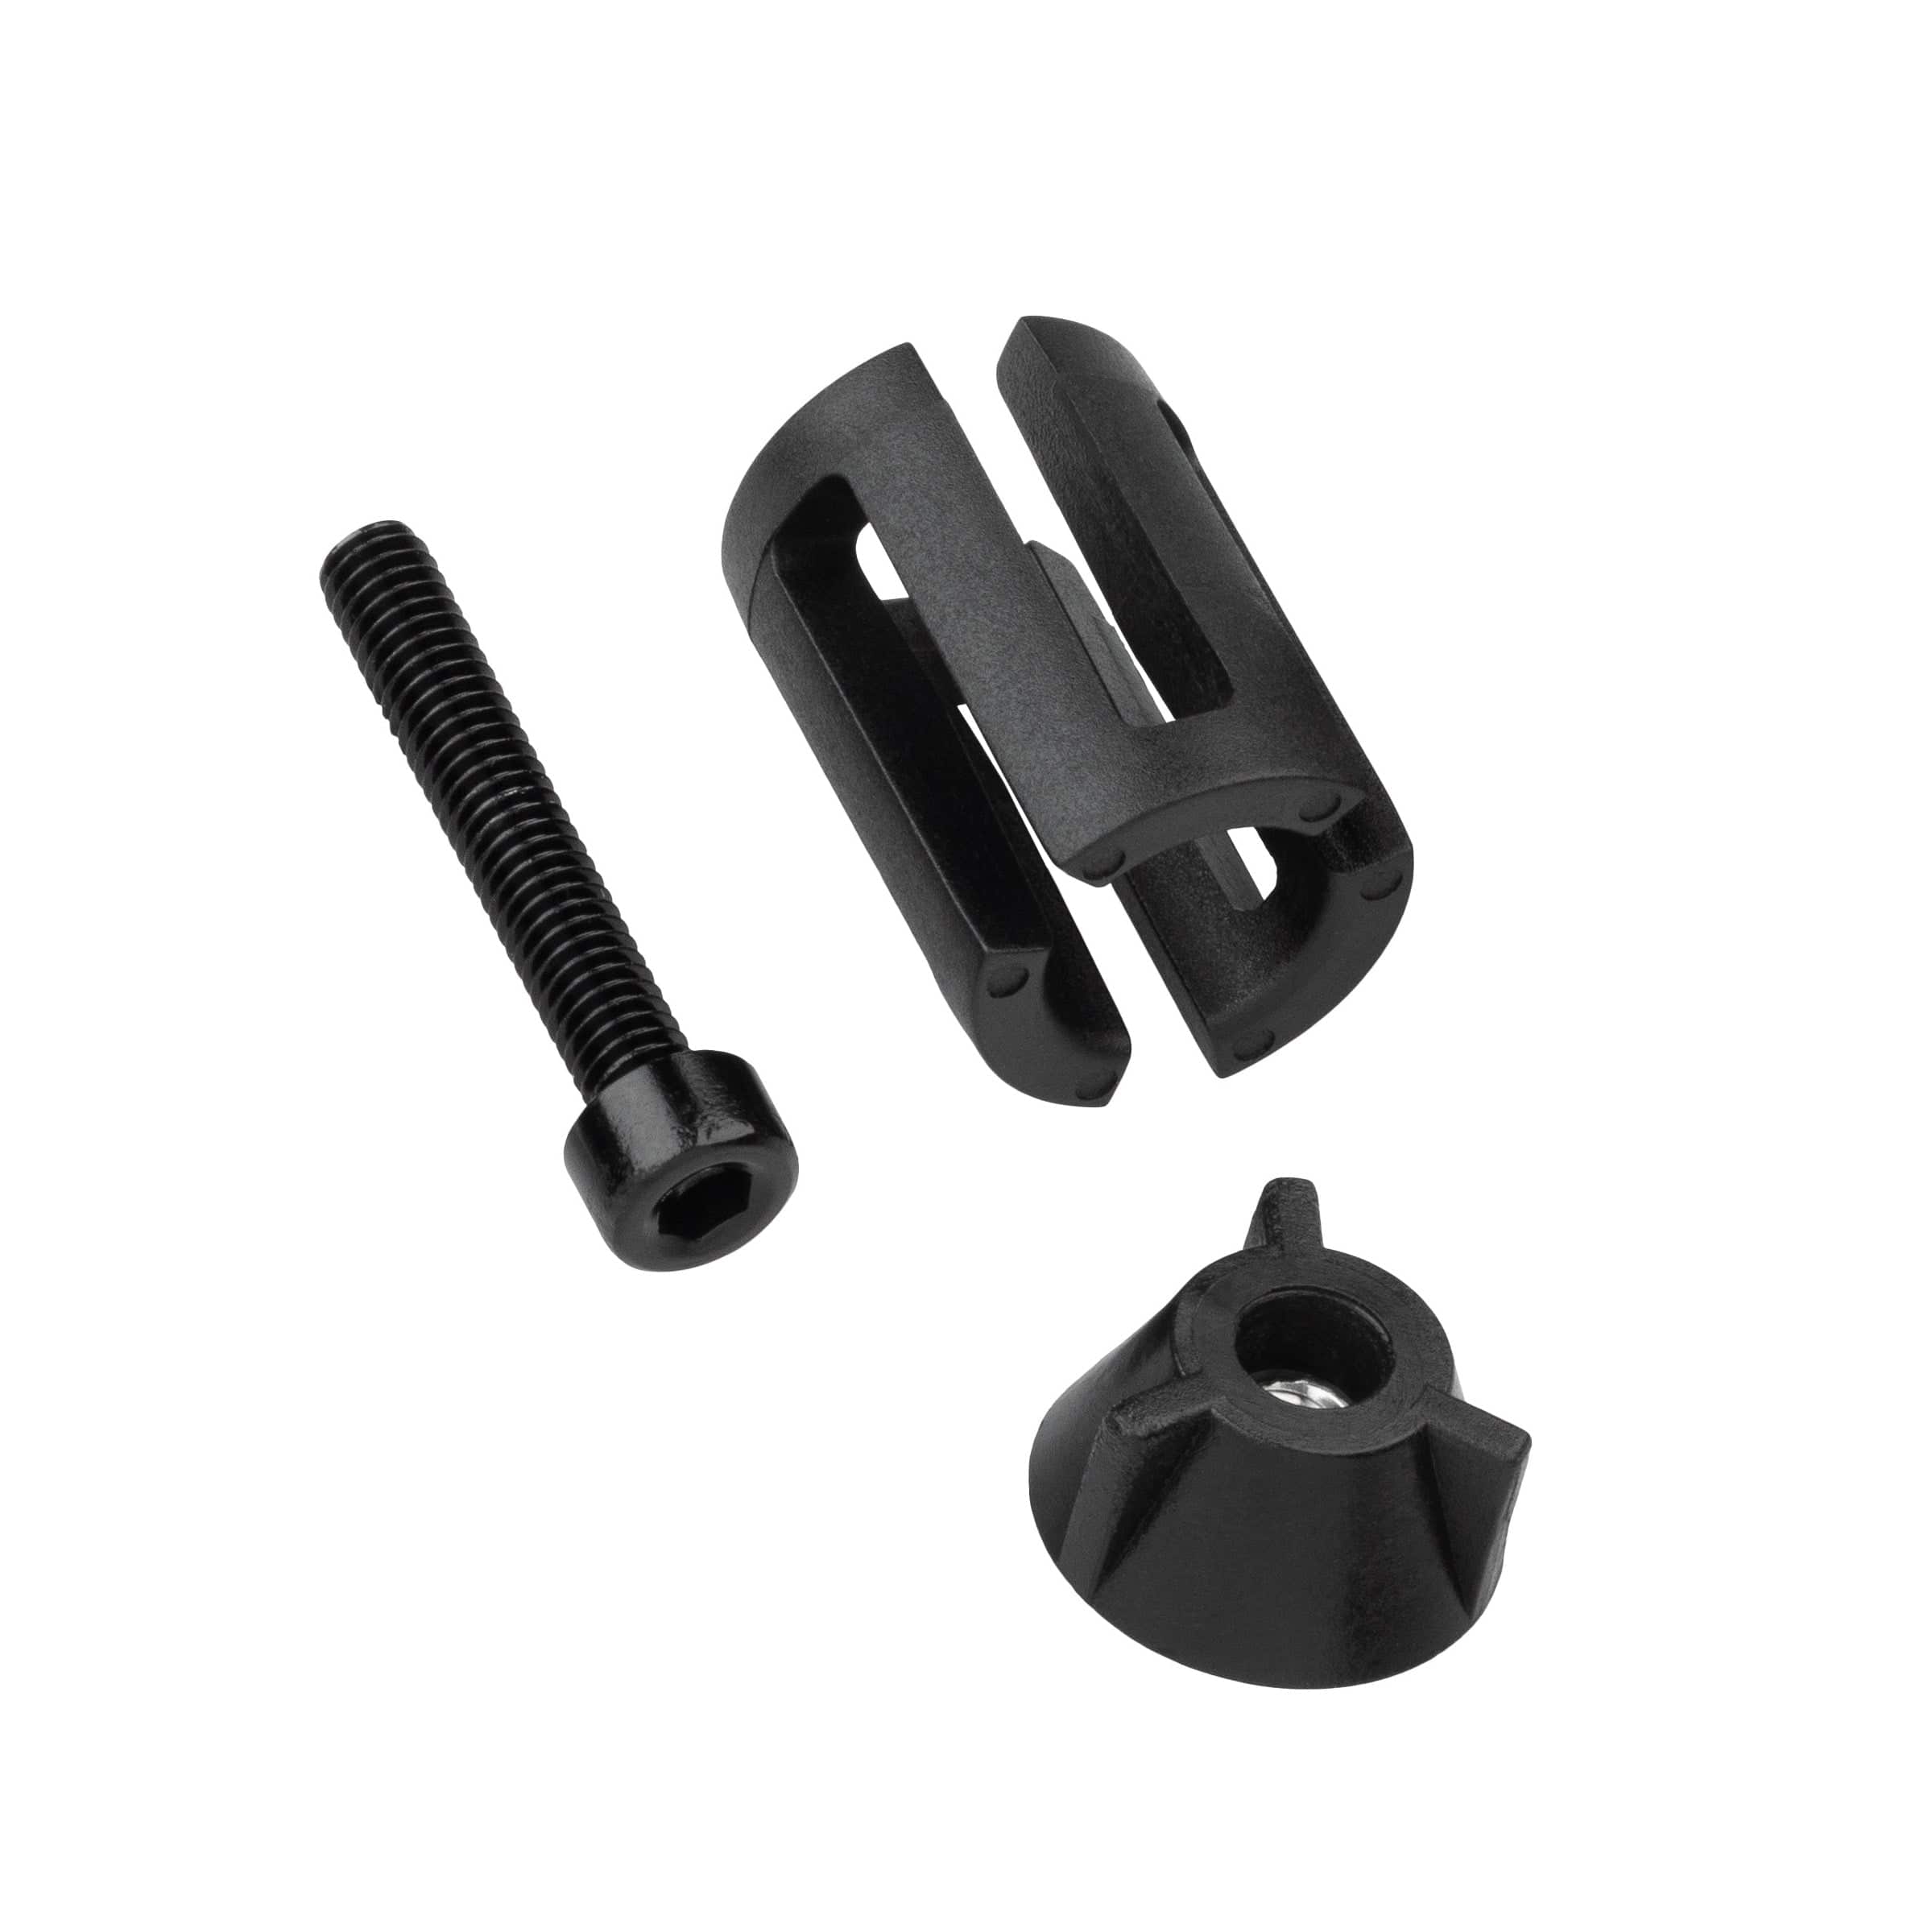
- Insert the bar end and lightly tighten the bolt with a 4mm hex wrench. Don't worry about the angle yet.
- Make sure that the hexagonal pieces of the cap and wedge are interfacing before installing.
- Move the grip back out until it is in contact with the bar end and tighten the lock collar on the grip.
- Loosen bar end, adjust angle, tighten to 3Nm.
- After the wedge expands into the rubber, the rubber will relax. You may need to torque the bar ends multiple times until the bolt stops spinning.
- Check brake lever location. Most likely, you should move your brake lever outboard slightly, so that the outside of your hand is in contact with the bar end while you are still comfortably grabbing the brake.
Helpful Tips
- The angle of your bar ends is critical and differs for each rider based on hand position, wrist "sag", brake position, and even type of riding.
- If you feel any hot spots, a quick angle adjustment is all you need.
- Your grips do need to be moved in slightly. The bar end needs to go over the bar per our installation instructions.
- Your brake levers may need to be adjusted out slightly for proper reach.

Tech Specs
Weight: 93 g pair
Material: 80A Durometer Rubber, 6061-T6 aluminum
Dimensions: 101.6 mm x 76.2 mm x 38.1 mm
Tool required: 4 mm Hex Wrench | Torque 3 Nm
Original: $30.00
-65%$30.00
$10.50Product Information
Product Information
Shipping & Returns
Shipping & Returns
Description
Wolf Tooth Locked-In Bar Ends give riders ultimate control and reduced fatigue during high speed technical riding and racing. This design is a collaboration with World Cup downhill athlete Joe Breeden.
- Allows the rider to use the sides of their hands to push against the ends of the bars for increased control and reduced fatigue
- A firm ergonomic rubber outboard flange supports and locks in the riders hand allowing for a lighter grip on the bars and reduced arm pump
- Protects the hand/pinky finger
Compatibility
- Compatible with most carbon and aluminum handlebars with an 18.0mm or wider internal diameter.
- Use of the Locked-In Bar Ends requires a grip with an open end. Many grips with closed ends can still be made to work by punching out the closed end. We sell a punch for this here.
- Some grips may have a removable bar end but still have a small lip on the plastic liner that keeps the grip from being able to be pushed inboard from the end of the bar [Ergon GA2, GDH]. We recommend removing this lip by sanding it off using a Dremel tool.
- What grips don't work:
- Grips with angled ends [Ergon GE1 Evo]
- We don’t suggest using grips with outboard lock on clamps, especially if the outboard clamp is an integrated bar end [Chromag Squarewave]
Installation
- Move grips inboard away from the end of the handlebars.
- Insert the bar end and lightly tighten the bolt with a 4mm hex wrench. Don't worry about the angle yet.
- Make sure that the hexagonal pieces of the cap and wedge are interfacing before installing.
- Move the grip back out until it is in contact with the bar end and tighten the lock collar on the grip.
- Loosen bar end, adjust angle, tighten to 3Nm.
- After the wedge expands into the rubber, the rubber will relax. You may need to torque the bar ends multiple times until the bolt stops spinning.
- Check brake lever location. Most likely, you should move your brake lever outboard slightly, so that the outside of your hand is in contact with the bar end while you are still comfortably grabbing the brake.
Helpful Tips
- The angle of your bar ends is critical and differs for each rider based on hand position, wrist "sag", brake position, and even type of riding.
- If you feel any hot spots, a quick angle adjustment is all you need.
- Your grips do need to be moved in slightly. The bar end needs to go over the bar per our installation instructions.
- Your brake levers may need to be adjusted out slightly for proper reach.
Tech Specs
Weight: 93 g pair
Material: 80A Durometer Rubber, 6061-T6 aluminum
Dimensions: 101.6 mm x 76.2 mm x 38.1 mm
Tool required: 4 mm Hex Wrench | Torque 3 Nm